
- I would recommend it highly.
- It is all about immersion into this magical, wondrous, dream-like circus. It has whole designated chapters for describing different tents and attractions so vividly. Mrs. Morgenstern has a gift for evoking mental images.
I decided to see if I could make a carousel out of clay. For the most part things went well, but I did have some major frustration with with the rods the animals go on, but I have managed to work it all out! My carousel is going to be monochrome to match the color scheme of the circus, feel free to make yours any color you want.

1. Sculpy (Black and White)
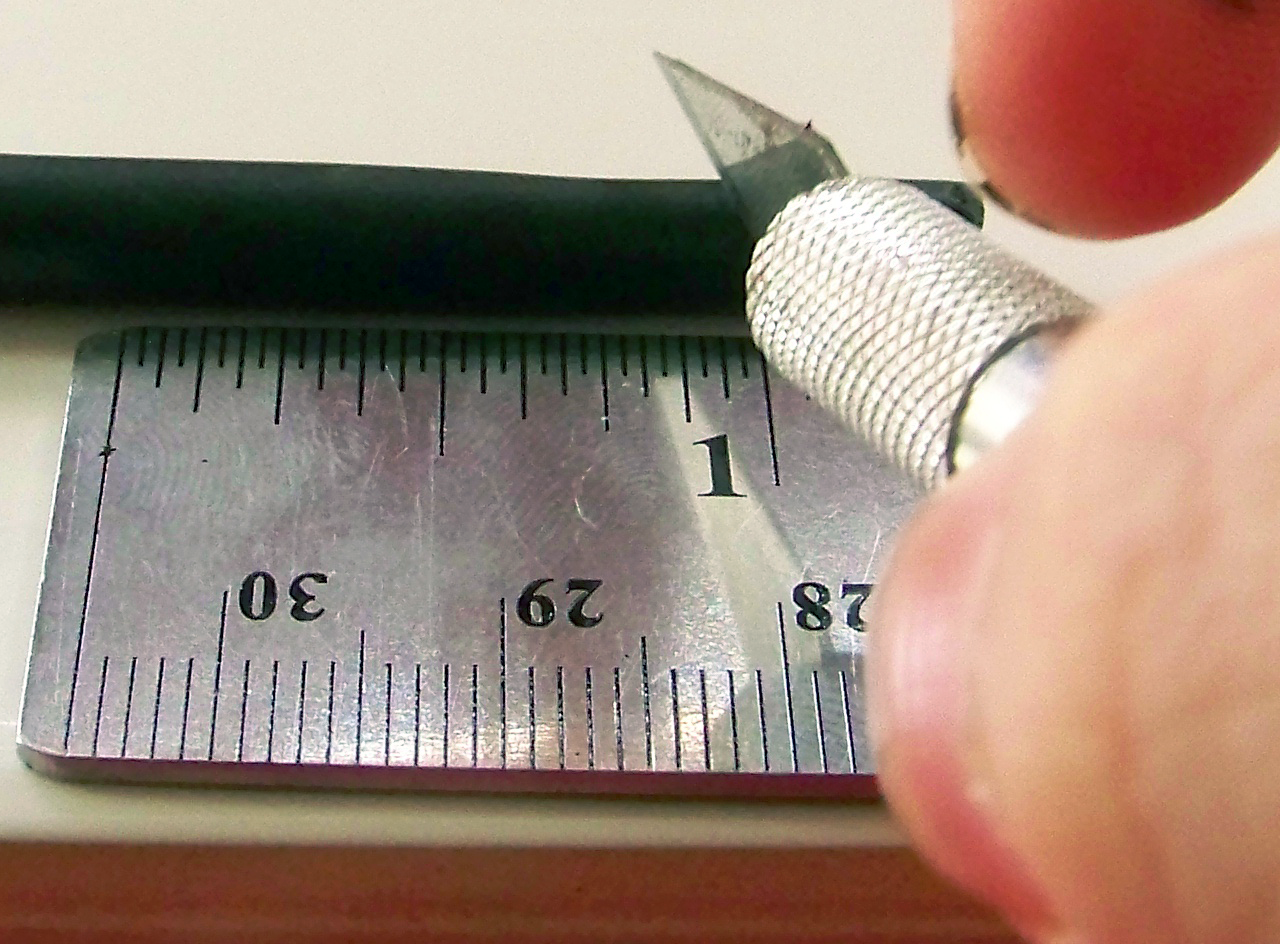
2. Xacto Knife
3. 1 Eyepin and 4 Headpins
4. Necklace (Optional)
5. Sculpy Glue
6. Scissors (Not Pictured)
7. Rolling Pin/Sculpy Clay Conditioner (Not Pictured)
Here is the template for the project, since they were so small I also included simplified instructions.
*Before you do any clay work, make sure to wash your hands, and between colors as well, to prevent color transfer and any other contaminants from touching the clay*
Step 1: Cut out templates 1-4. Fold 3 in half. so it retains it shape but is now a smaller pizza looking slice.

Step 2: Roll out a slab of black clay 1/8th an inch thick, or slot 1 if you are using the Sculpy clay conditioning machine. With the Xacto Knife cut out a copy of templates 1& 4.

Step 3: Now smooth out any rough edges on your pieces and apply glue around the edge of piece 1. Flip piece one over so that the wrong side is up. Attach piece 4 all the way around piece 1. Smooth seams with fingernail or smoothing tool. You have now created the base for your carousel.

Step 4: Roll out another slab of black clay, this one needs to be thinner. 1/16th of an inch or slot 2. With the Xacto Knife cut a copy of template 2 out of it.
Step 5: Now attach the two end pieces of piece 2, so that it creates a slight cone, press the clay gently but firmly together. Now you have the top and bottom of your carousel.


Here's what you should have so far.

Step 7: Now roll out a small log of black clay, about 1/8th an inch wide. Cut out a 1 inch section. Apply a dab of glue to the bottom and place on the center of your base. Then you should insert another headpin from the bottom up into this central column we are creating.

Step 8: Roll out a slab of white clay, 1/16th of an inch or slot 2. Now cut out four copies of template 3. Apply a little glue to the bottom of each one and apply them to the top of the carousel.

Start with one covering the construction seam, and make an X. The template can help with placement.
Step 9: Make yourself some carousel animals, out of white sculpy. I just sort of free handed these so I don't really have instructions.
Step 10: Skewer, for lack of a better term, your animals on the three head pins coming out of your base. Make sure they are all facing the same direction.
Step 11: Apply a dab of glue to the top of the central column, careful not to cover the hole for the head pin, and place the carousel top on top of the column.

 |
| Do do do dodo do do do dodo |
I made mine into a necklace, and even though it is a little bigger then I first imagined I love it! Its super light, and cute in a quirky, book-nerdy sort of way.

Other things you could do with your carousel:
- Make it into an ornament!
- Build other parts of a mini circus! Diorama!
- Scale the pattern, make it bigger or smaller!
Til Next Time!
RaCh
No comments:
Post a Comment